Computer Control Safety Valve Test Bench
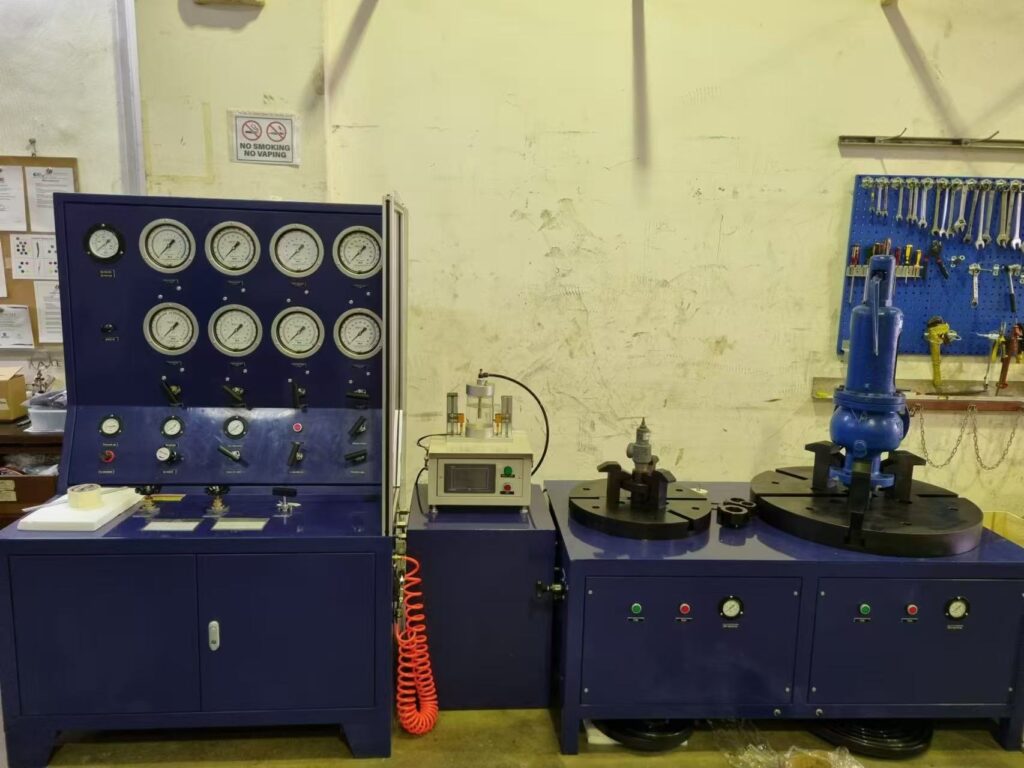
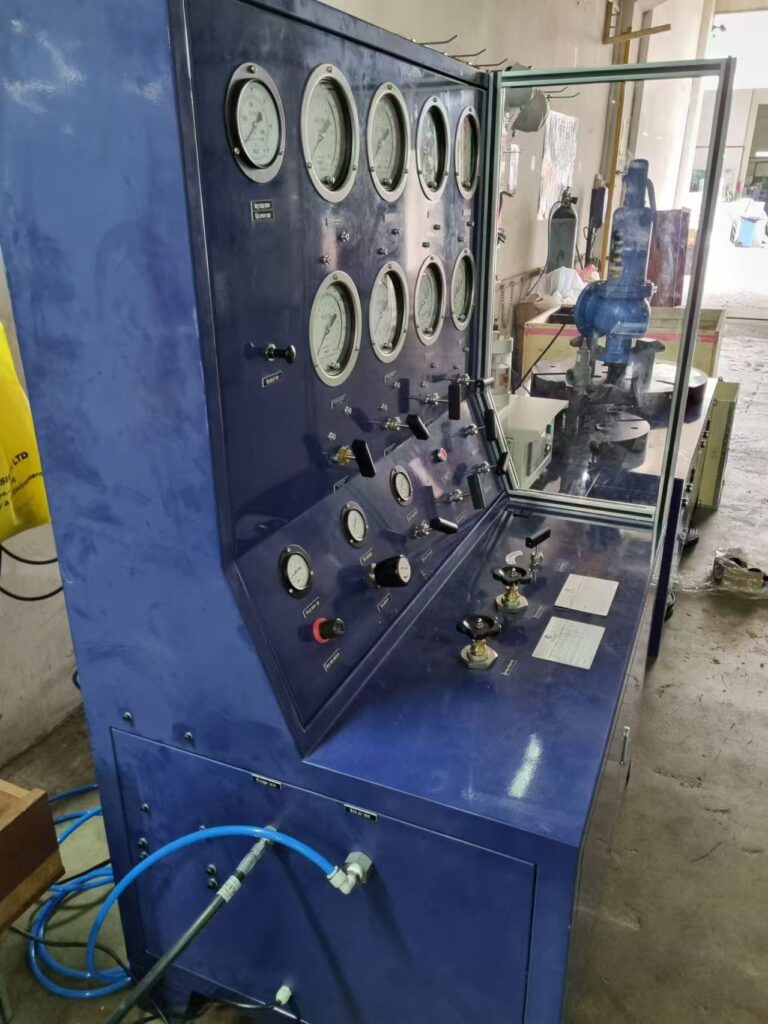
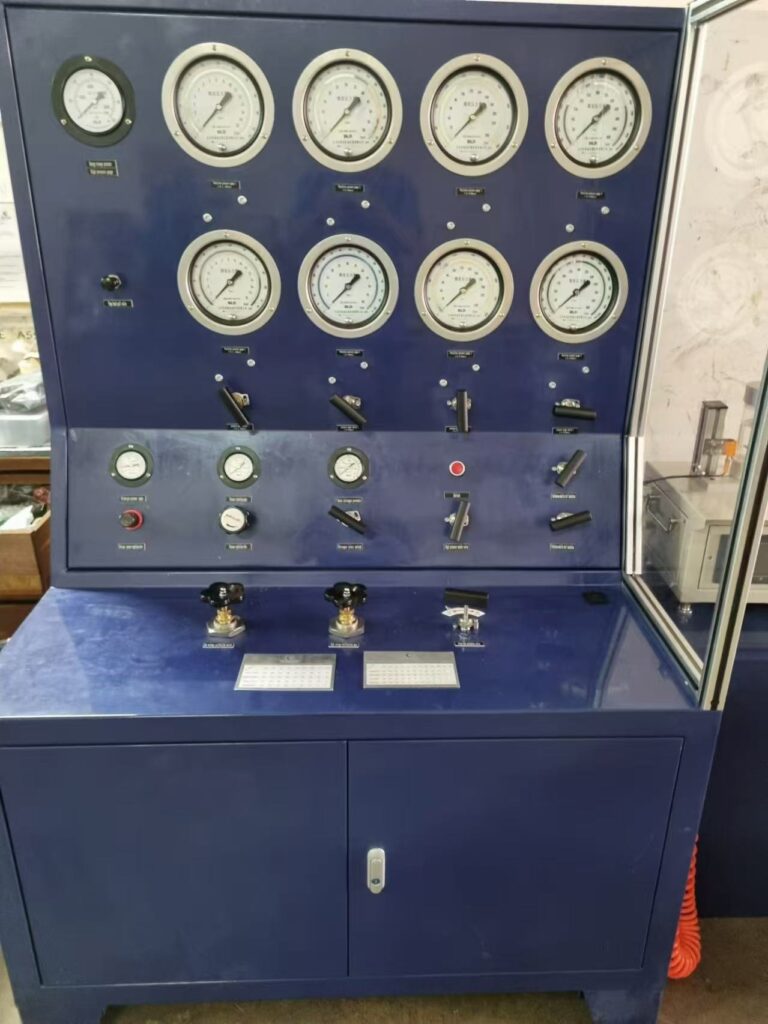
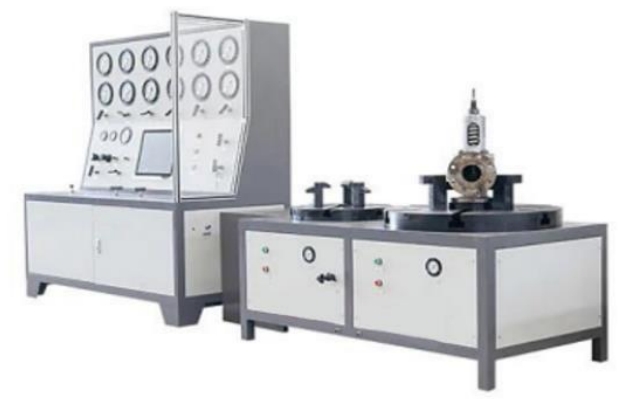
Safety Valve Test Bench – GGS-MAQ-400/40BN-C with Advanced Computer Control
Discover the GGS-MAQ-400/40BN-C Safety Valve Test Bench for precise and reliable safety valve testing. Designed to meet international standards, this advanced test bench ensures optimal performance with cutting-edge computer control features. Perfect for all your safety valve test requirements.
Introduction

Safety Valve Test
Computer Control Safety Valve Test Bench | GGS-MAQ-400/40BN-C
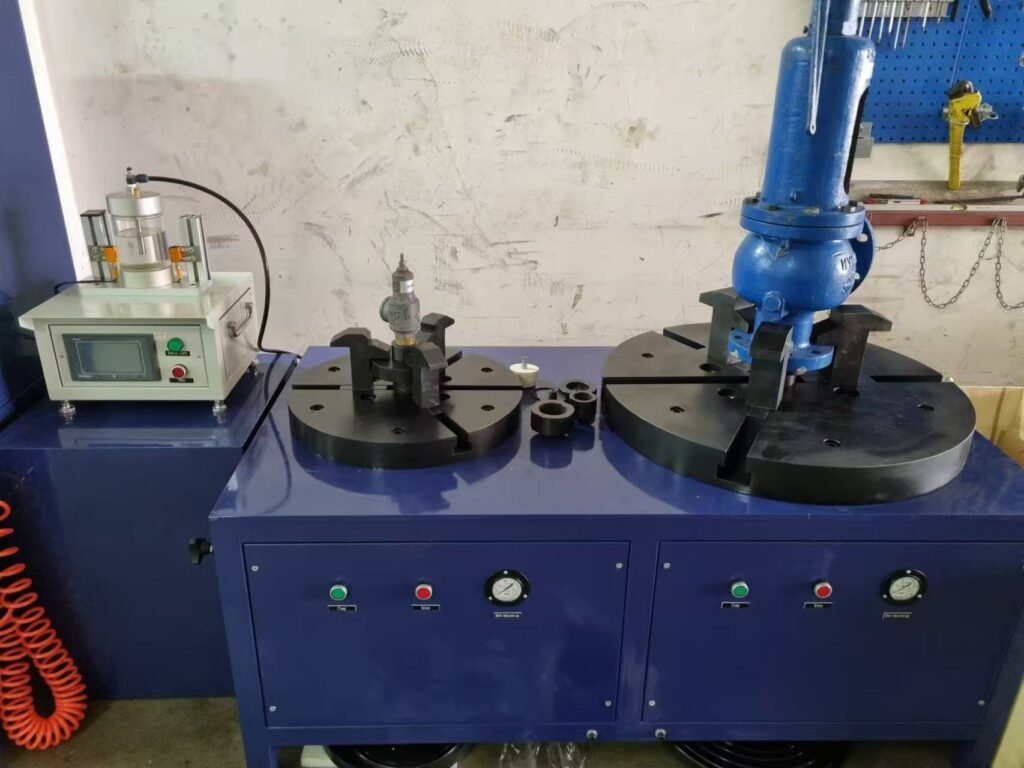
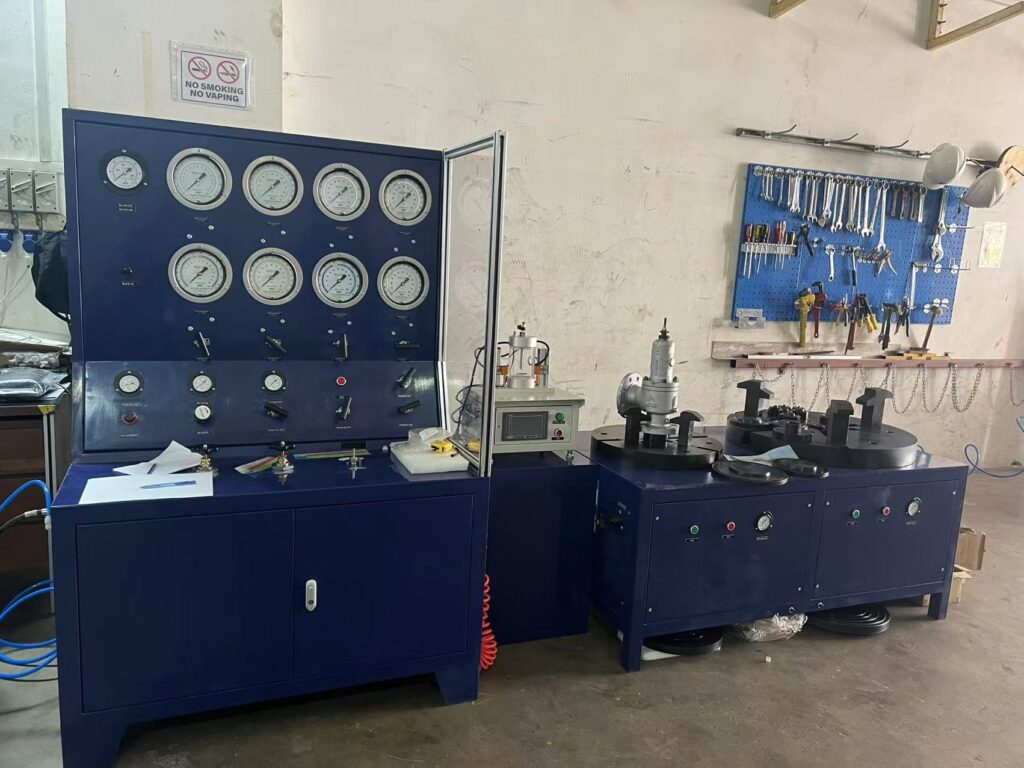
Computer Control Safety Valve Test Bench: The new safety valve test and calibration table developed and manufactured by our company is suitable for performance testing of setting pressure, return pressure, and sealing of direct load type and pilot type safety valves. This advanced safety valve test bench complies with related standards such as TSGZF001-2006 safety valve safety technical inspection regulations, GB-T12242-2005 pressure release device performance test specification, GB-T12241-2005 safety valve general requirements, and GB-T12243-2005 spring direct load safety valve. It meets the national standards for safety valve performance testing and aligns with international standards like API 526, API 527, and ANSI/API RP576. This innovative system ensures precision and reliability in safety valve testing for various industrial applications.
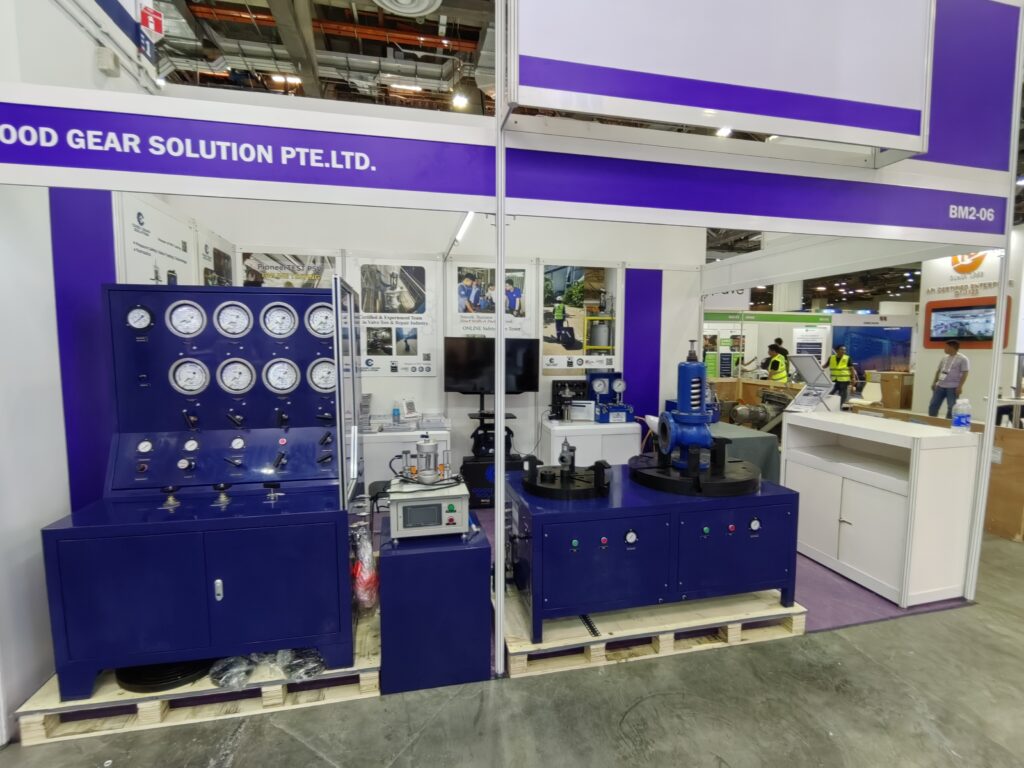
Discover our exhibitions:2024 GOOD GEAR AT THE OTC SHOW IN HOUSTON – Safety valve testing and online testing of PSV
Online Safety Valve Testing Equipment: Online Safety Valve Testing Equipment – GoodGear Solution
Features
| 1. | Pneumatic clamping and air-driven hydraulic clamping device are used, the clamping force is adjustable, and a pressure gauge is displayed to show the corresponding clamping force. A comparison table of pressure and clamping force is provided to facilitate the operator to verify the pressure and communication according to the safety valve test requirements. Select the proper clamping force. |
| 2. | Gas test: Use nitrogen in a nitrogen cylinder as the test pressure source, pressurized by a pneumatic booster pump, and used for testing. Equipped with a gas booster pump, the driving air source is 2-8 bar. |
| 3. | Liquid test: Use water as the test medium, pressurized by the pneumatic liquid booster pump, and used for the test. Equipped with an air-driven liquid booster pump, the booster medium is water, the driving air source is 2-8bar. |
| 4. | All valves, fittings and joints are made of stainless steel. |
| 5. | In addition to the manual control of the check valve, the test process is computer operation, automatic clamping, automatic data recording, and printing of relevant data and pressure-time curve diagrams of the test process. |
| 6. | One sets of test and check bases, including 2 clamp bases, for DN10-DN400 test use. |
| 7. | The computer adopts an industrial computer, which has stable performance, shock resistance, and firmness. During the safety valve testing operation, the appearance inspection status, the reason for the failure, and the maintenance status of the inspected safety valve can be selected. This information can be automatically imported into the inspection report of the verification task and automatically saved. |
| 8. | During the calibration process, the setting pressure can be automatically measured and recorded, and the three qualified setting pressure values and average values measured can be automatically imported into the verification report of the inspection task, with a pressure-time curve attached. This ensures precision and reliability during the safety valves test process. |
| 9. | Equipped with multiple test fixtures to meet the test requirements of the safety valve of the checkered series. |
| 10. | Capable of conducting pressure tests and seat tightness tests for a wide range of safety or relief valve types |
Technical Parameter of Equipment
Safety Valve Test
| Machine Name | Computer Control Safety Valve Test Bench |
| Model | GGS-MAQ-400/40BA-C |
| Tested object | Safety valve |
| Features | Safety valve take-off pressure seal test |
| Test medium | Air(N2) |
| Maximum test pressure | Gas:40MPa |
| Maximum proof path | 400mm/DN15-DN400 |
| Calibration accuracy | ±0.4% |
| Medium temperature | Room temperature +10-80℃ |
| Ambient temperature | Room temperature |
| Simultaneous test pieces | 1 piece |
| Wooden Cases | Export standard fumigation wooden cases |
Technical Parameter of Equipment
| Features | Specification |
|---|---|
| Clamping range: | Flanged: Ф 15-Ф 400 mm Treaded: Ф 15-Ф 65 mm. Total 7 pieces |
| Maximum height under the claws: | Medium Clamping Plate:75 & 100mm maximum distance from sealing surface to the bottom of the jaw. High Clamping Plate90 & 120-mm, maximum distance from sealing surface to the bottom of the jaw |
| Test gas source:(buyer supplied) | Nitrogen cylinder or H.P. compressed air20bar~200bar |
| Power request (buyer supplied) | Driving gas source: Dry and clean compressed air / Nitrogen at 6-8 bar |
Test Bench Structure
| The main components | Detailed composition |
|---|---|
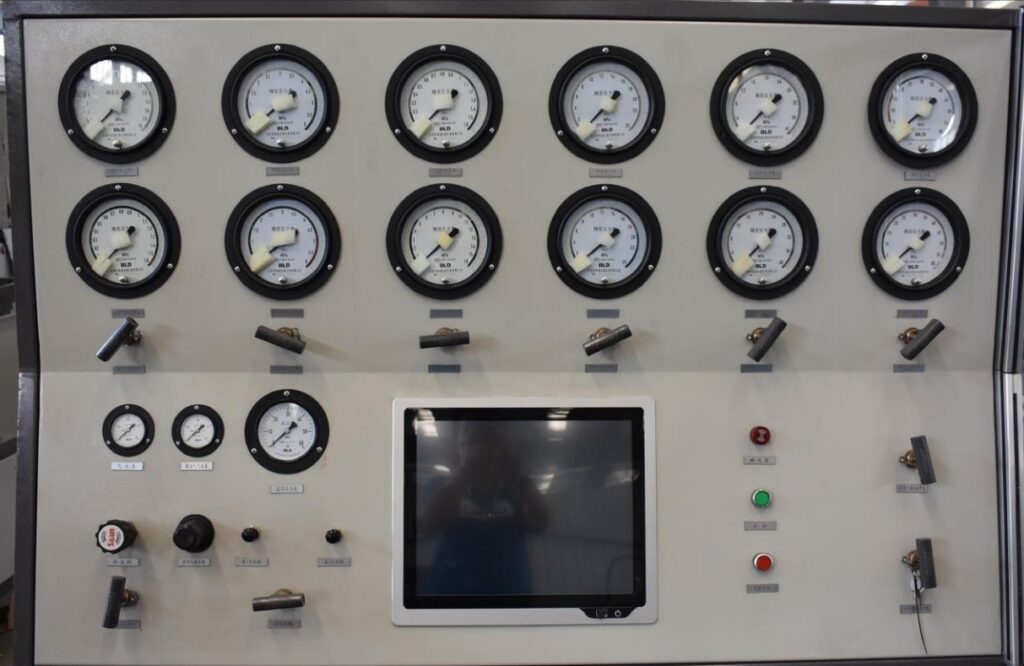
| Clamping system | Hydraulic tightening: consists of a reversing valve, oil cylinder, pneumatic hydraulic system, check seat, and movable clamp feet. Start the clamping device after the pin is in place, and reset the clamping device after the verification is completed to ensure accuracy and efficiency during the safety valves test process. |
| Test cabinet | The main cabinet is made of Q235 and sprayed |
| Test system | It is composed of a high-pressure valve, high-precision pressure gauge, pressure reducing valve, booster system, etc., and is equipped with precision pressure and pressure sensors. The pneumatic dual body and solenoid valve are made by Airtac from Taiwan, and the booster pump is made in China. The sealing parts of the booster pump are all imported from the United Kingdom. This system supports Micro lift, metric, inch, threaded, and domestic and imported safety valves, ensuring reliability and precision in the safety valve test process. Designed for diverse applications, it guarantees accurate and efficient safety valve test operations. |
| Measuring system | Using the most advanced programming software and data acquisition system, Lenovo business computer. The computer provides a real-time display of the test process, utilizing LABBVIEW programming software and an NI acquisition card to ensure precision and efficiency during the safety valves test process. |
| Control | Computer control |
| Related accessories | Center pad or inch diameter outer joint: 1 set is specified by the customer. “O” type seal: There are 30 specifications in total. |
Clamping Table Parameters
Safety Valve Test
| Clamping plate specifications | Valve Flange Range outer diameter | Bore of cylinder or oil cylinder | Clamping force (air pressure = 6bar) |
|---|---|---|---|
| Medium clamping plate | Ф15 -Ф200 mm | Oil cylinder bore: 80 mm | 1.8 MT-13 MT |
| Large clamping plate | Ф50-Ф400 mm | Oil cylinder bore: 125 mm | 9.8 MT- 30 MT |
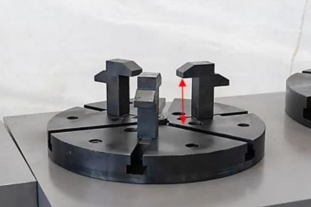
A-Medium clamping plate
| Power source | Cylinder |
| Calibration caliber | DN25-DN200 |
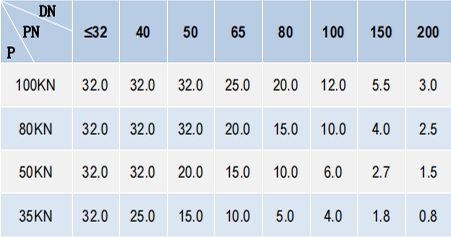
B -Medium clamping plate
| Power source | Cylinder |
| Calibration caliber | DN200-DN400 |
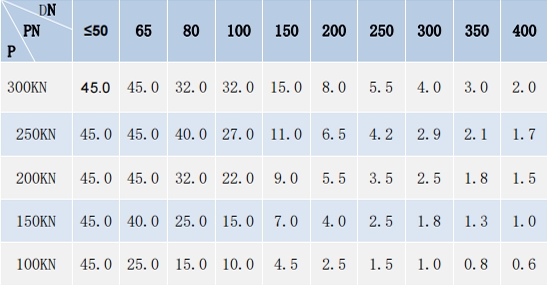
Other parameters
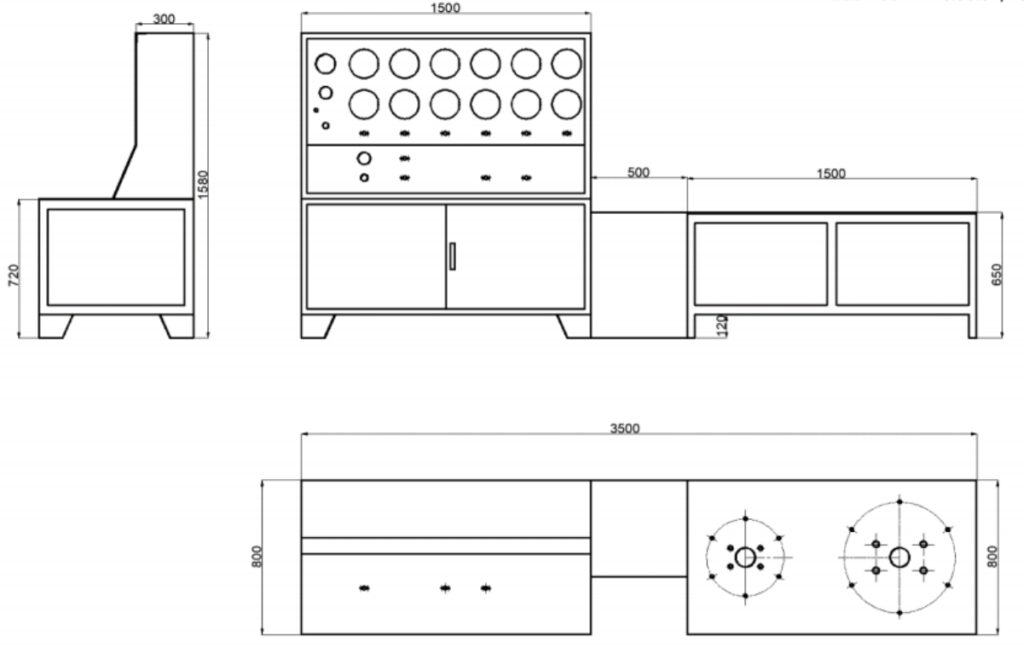
Dimensions & Weight
| Description | Dimension (Length x Width X Height) & weight |
|---|---|
| Gross Dimensions and weight | 3500 mm x 800 mm x 1580 mm |
| Control console | 580kg |
| Dual Clamping bench | 900kg |
Leakage test
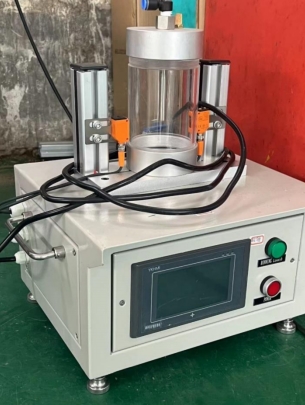
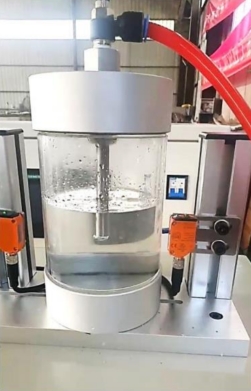
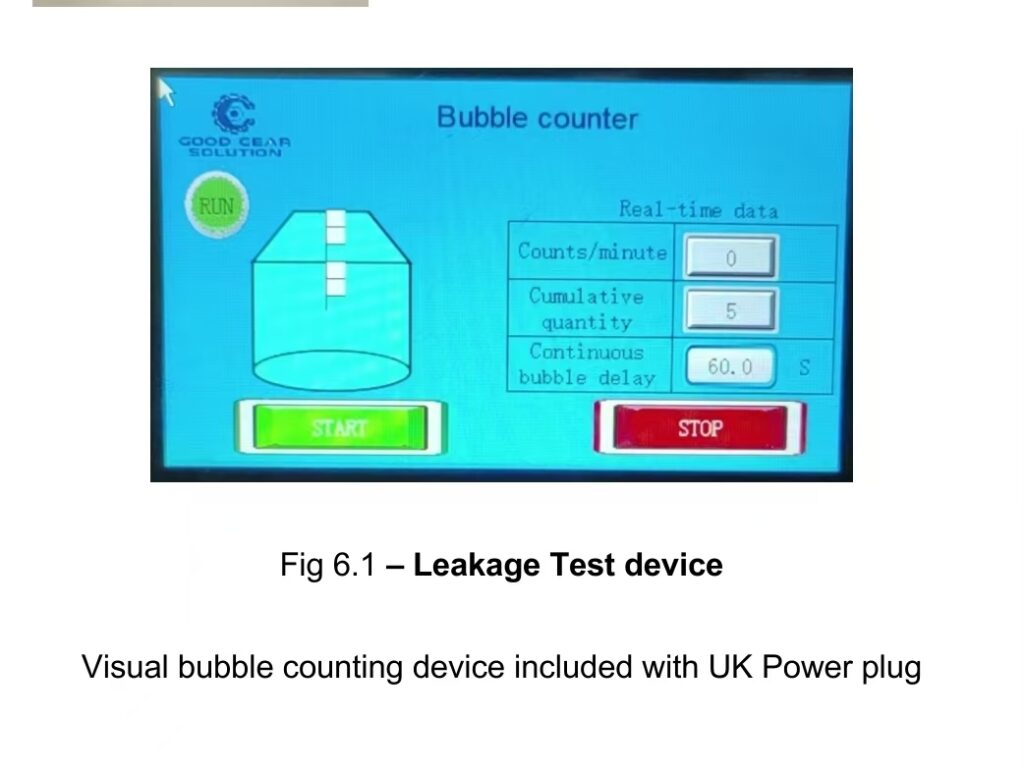
Visual bubble counting device included with UK power plug, designed for precise monitoring during safety valve testing.


Supply scope table
| S/N | Name | Description | Qty | Remark |
|---|---|---|---|---|
| 1 | Control console | Max test pressure 400 bar With safety protective shied | 1pcs | Incl. in the quotation |
| 2 | Clamping bench | Dual Test bench Max. clamping force 30 MT, DN 25-400 | 1pcs | Incl. in the quotation |
| 3 | Tubing Shield | Cover for tubing | 1pcs | Incl. in the quotation |
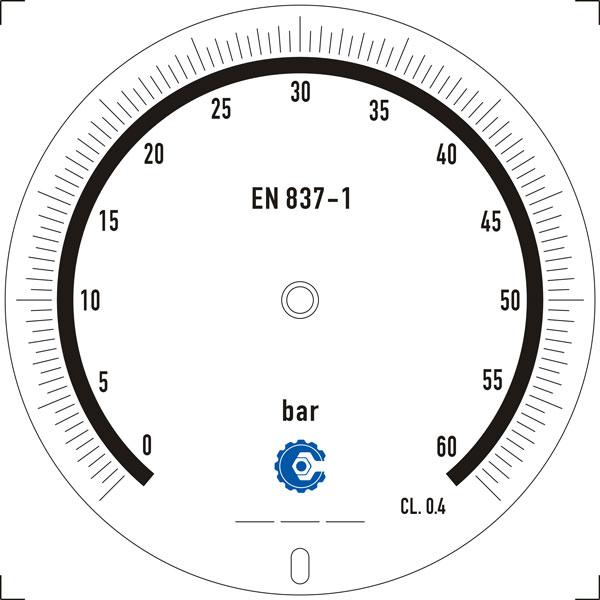
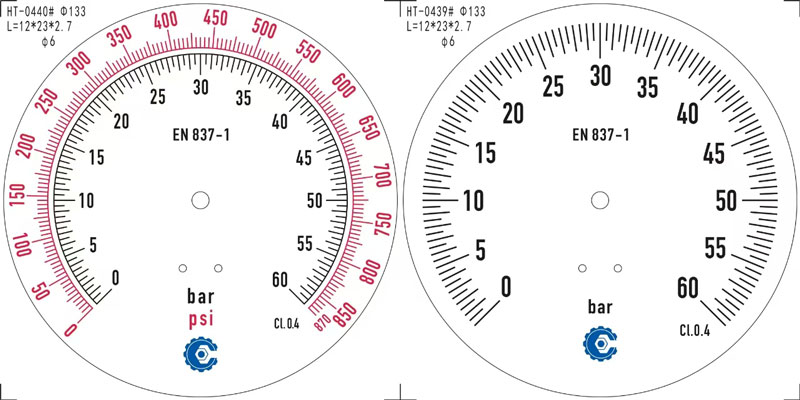
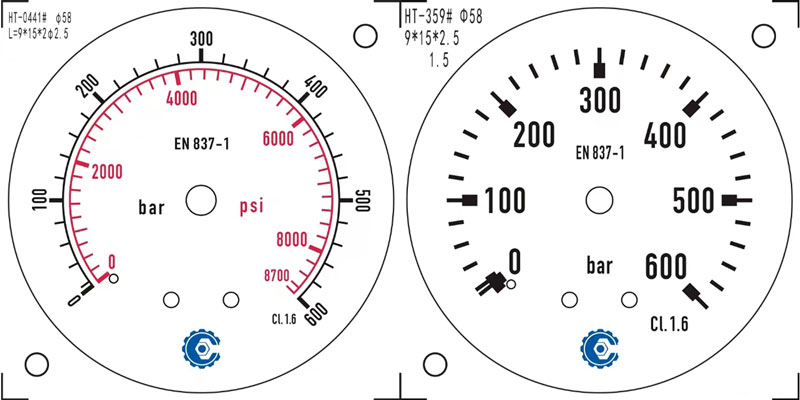
| 4 | Precision pressure gauge | Range 16 bar,60 bar,250bar and 600bar each 2 pcs. Double scale bar/psi,0.4%FS, radial precision pressure gauge, ¼ NPT male. | Total 8 pcs | Incl. in the quotation |
| 5 | Accessories | Connection pipelines and connectors for SRV Test Bench | 1 set | Incl. in the quotation |
| 6 | Documents | 1 Equipment operation manuals. 2 Equipment factory quality Certificates. Standards: EN764-7202/AC:2006 EN ISO 1200:2100, EN 60204-1:2018 1 Clamping table parameters. 1 Pump operation manual and schematic. 1 Packing list. | 1 set | Incl. in the quotation |
Standard configuration
| S/N | Description | Qty |
|---|---|---|
| 1 | Leakage test device (visual bubble counter) | 1 set |
| 2 | Air gun | 1 pcs |
| 3 | Air gun hose (3 meter) | 1 pcs |
| 4 | Compress Air / Nitrogen cylinder hose (3 meter), | 1 pcs |
| 5 | Driving inlet air hose (5 meter) | 1 pcs |
| 6 | O-ring for test | 1 pcs |
| 7 | Flange-thread adapter for threaded valves | 1 pcs |
| 8 | Printer | 1 pcs |
Terms & Conditions

| Delivery Term: | In USD, ExWork |
| Delivery Time: | 12-16 weeks after receiving downpayment/deposit |
| Payment Terms: | 30% deposit after P.O, 70% to be paid before shipment/ready to ship |
| Documents | Installation/ Operation/ Service/ Manual: In English |
| Warranty | 12 months after shipment |
| Pre-shipment Inspection | Supplier should trial run whole line at supplier’s factory before shipment. |
